
Install Apache Spark on macOS using Homebrew
Table of Contents
Introduction
Installing Apache Spark on macOS is a simple process using Homebrew. Homebrew is a package manager for macOS that (in their own words) “installs stuff you need”. This guide will walk you through the steps to install Apache Spark on macOS.
Pre-requisites
You will need to have Homebrew installed on your Mac. If you don’t have it installed, you can install it by running the following command in terminal:
curl -fsSL https://raw.githubusercontent.com/Homebrew/install/HEAD/install.sh
You can alternatively download a .pkg file from the Homebrew website.
Install Java
Checking over the Apache Spark Homebrew Formula there is a dependency on openjdk@17 which is a development kit for the Java programming language. You can install Java using Homebrew by running the following command in terminal:
arch -arm64 brew install openjdk@17 # or run this on non-Mx Macs: brew install openjdk@17
Install Apache Spark
Once complete, you can run the following command to install Apache Spark:
arch -arm64 brew install apache-spark # or run this on non-Mx Macs: brew install apache-spark
Run spark shell
Once installed, you can run spark-shell from the command line to test out the install. Running the command should return something similar to this:
24/03/06 00:05:15 WARN Utils: Your hostname, {computer-name} resolves to a loopback address: 127.0.0.1; using 192.168.68.115 instead (on interface en0)
24/03/06 00:05:15 WARN Utils: Set SPARK_LOCAL_IP if you need to bind to another address
Setting default log level to "WARN".
To adjust logging level use sc.setLogLevel(newLevel). For SparkR, use setLogLevel(newLevel).
24/03/06 00:05:18 WARN NativeCodeLoader: Unable to load native-hadoop library for your platform... using builtin-java classes where applicable
Spark context Web UI available at http://192.168.68.115:4040
Spark context available as 'sc' (master = local[*], app id = local-1709683518635).
Spark session available as 'spark'.
Welcome to
      ____              __
     / __/__  ___ _____/ /__
    _\ \/ _ \/ _ `/ __/  '_/
   /___/ .__/\_,_/_/ /_/\_\   version 3.5.1
      /_/

Using Scala version 2.12.18 (OpenJDK 64-Bit Server VM, Java 17.0.10)
Type in expressions to have them evaluated.
Type :help for more information.

scala>
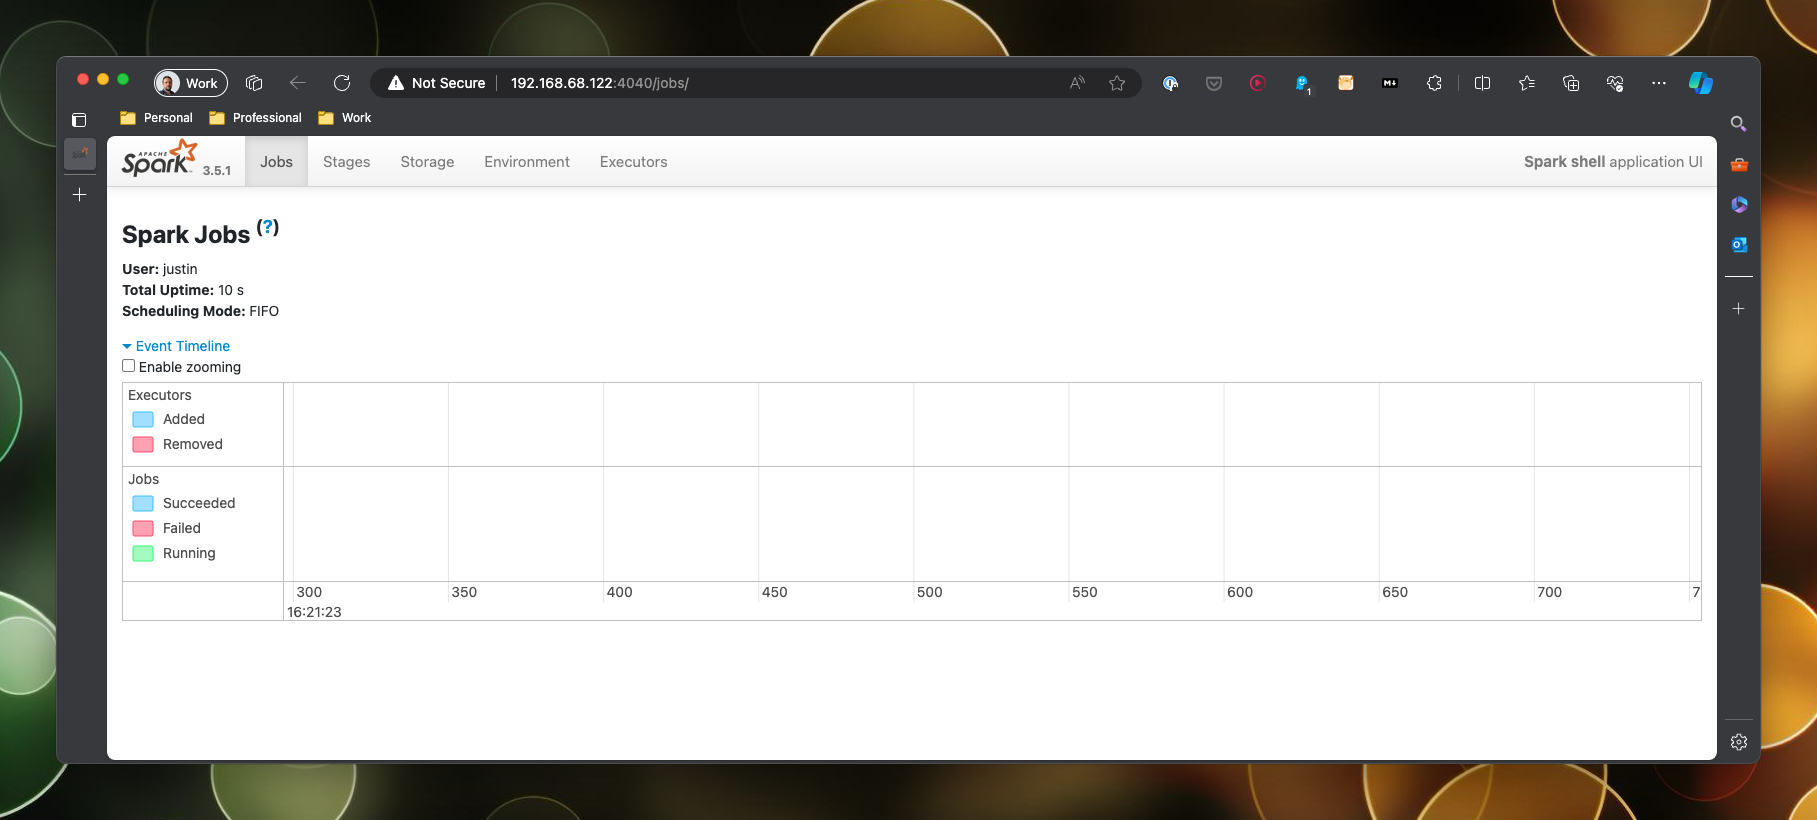
Access the web UI
Note from the output, the line Spark context Web UI available at http://192.168.68.115:4040 which is the address I can use to access the Spark UI. Your IP address is potentially going to be different so make sure to use the one that is in your output.
Now to create a dataframe and read in a csv file…
Create a dataframe
I have placed a csv file in the root of my home directory called data.csv. I am going to load this in and then display the contents of the dataframe using these commands:
## read the data
val df = spark.read.format("csv").option("header","true").option("inferSchema", "true").load("./data.csv")

## show the contents of the dataframe
df.show()
This should return the contents of the csv file:
+-------+----+------+
| person|code|colour|
+-------+----+------+
|   luke|jedi| green|
|   yoda|jedi| green|
| anakin|jedi|   red|
|obi-wan|jedi|  blue|
|  vader|sith|   red|
|sidious|sith|   red|
|   maul|sith|   red|
+-------+----+------+
Consider that the path I have used is relative to where I started spark-shell so you may need to adjust the path to the csv file accordingly.
You can exit the spark shell by pressing Ctrl + D.
Wrapping Up
And that is it! In just a few minutes I have spun up Apache Spark and loaded data from a csv file direct from my machine.
References

#mtfbwy