Creating Gifs Using PowerPoint or Keynote
- community
- 2021-07-14
- 8 minutes to read
This post is over 24 months old, that is an lifetime in tech! Please be mindful of that when reading this post as it could be outdated. I try to keep on top of changes where possible. I try to keep things up to date, but if you think something needs updating, please let me know in the comments.
Intro
I have been using Keynote to produce gifs for social media posts. It’s really simple to do in both Keynote and PowerPoint although the output from Keynote is slightly better in its delivery in my opinion. I have been asked a few times on how I have produced them, so I thought I’d put a post together to explain. I will walk through producing them using both PowerPoint and Keynote.
Example
I have been using these gifs to promote our user group! Here is a tweet produced for our most recent talk;

Pretty neat eh? Since most folks are likely to use PowerPoint, we’ll start there…
Using PowerPoint
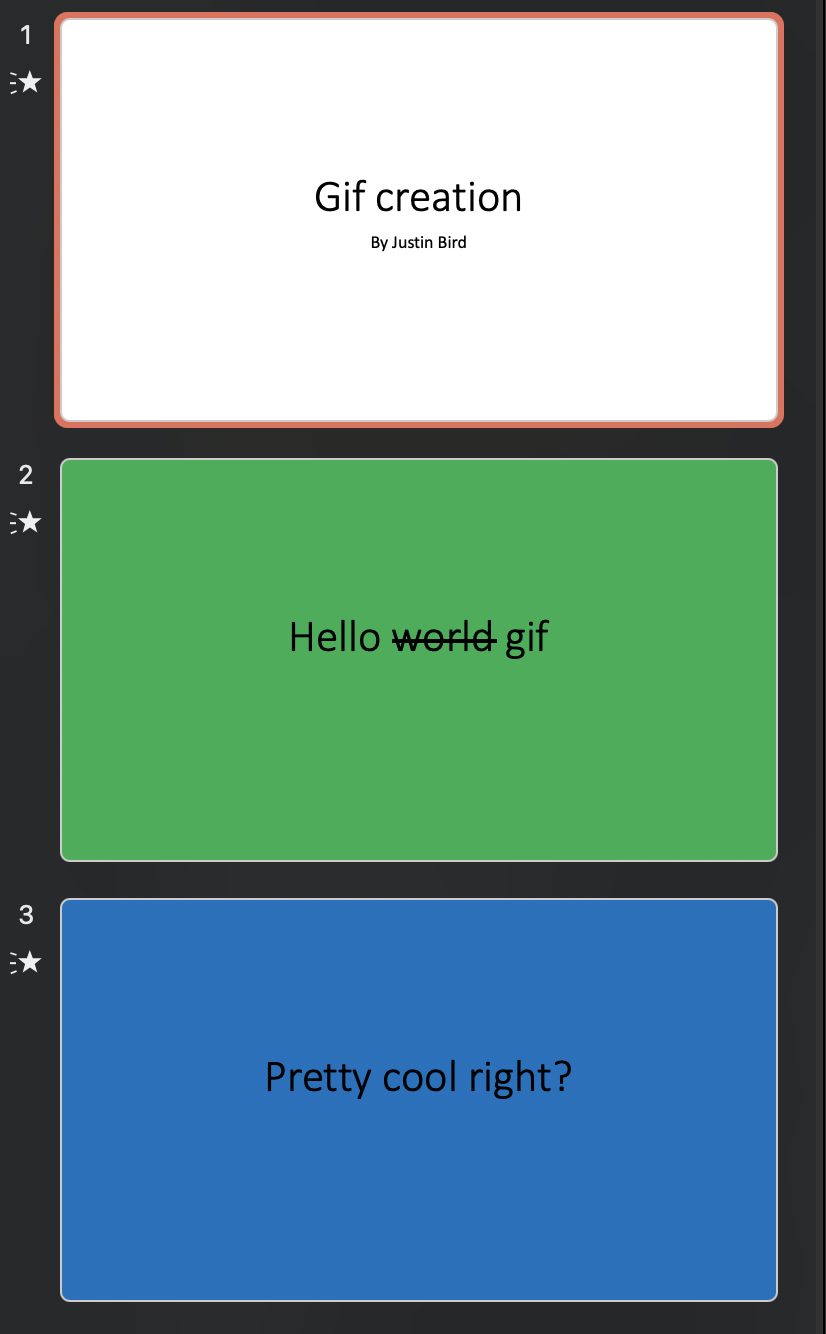
In its simplest form, the above gif is made up of four slides. Each slide has its own transition. The slide deck is then converted into a gif. Once the deck is converted, the gif will automatically loop through the transitions using the configured time queues.
Setting up the slides
First, we need to create our slides. We’ll use some static slides for this example;
Adding transitions
Next we will add some transitions to each slide. Because this will run on a loop, we want to set a transition on every slide including the first once since that transition will occur when looping from slide 3 to slide 1. This doesn’t quite work as intended in PowerPoint - the transition on slide 3 transitions to a blank screen and then slide 1 simply appears whereas what I’d really want it to do is transition from slide 3 back to slide 1. It does however, work as intended in Keynote which we’ll see later.
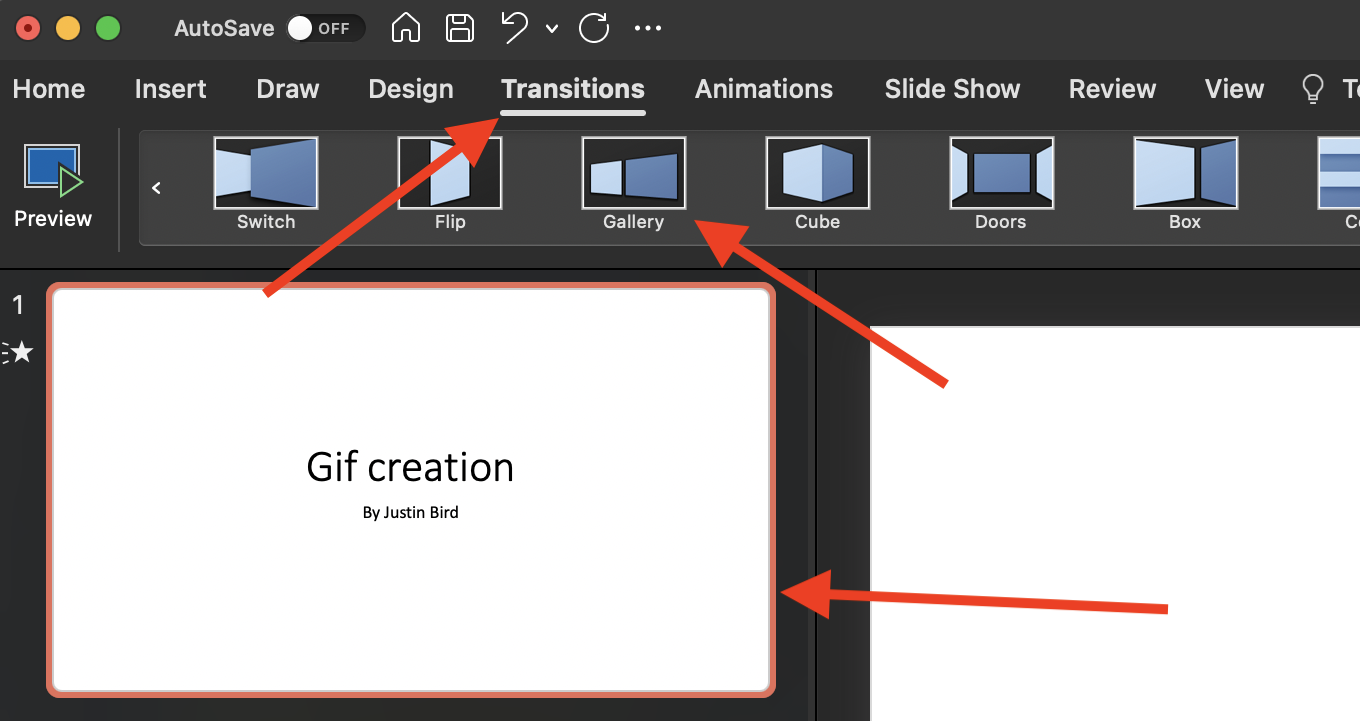
Select slide 1, then open the transitions ribbon. You can then flip through the transition choices until you find your preferred transition. Here I am going to use the gallery transition. Repeat this step for all three slides;
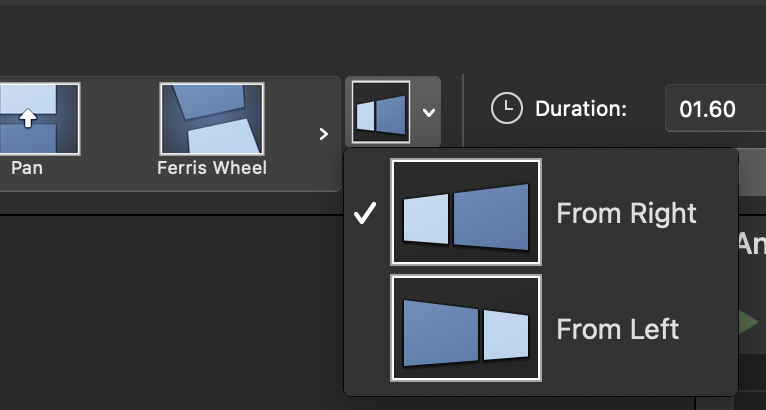
If you select effect options you can control the direction of the transition;
Also take note that each transition has a transition duration in seconds. This is the time it takes to transition from one slide to the next. We aren’t going to change this right now but keep this setting in mind as we’ll be referring back to it later.

Export animated gif
From here you’re ready to export the gif. Open the file menu and hit export. Once you have selected Animated GIF as the file format you will be presented with a few options;
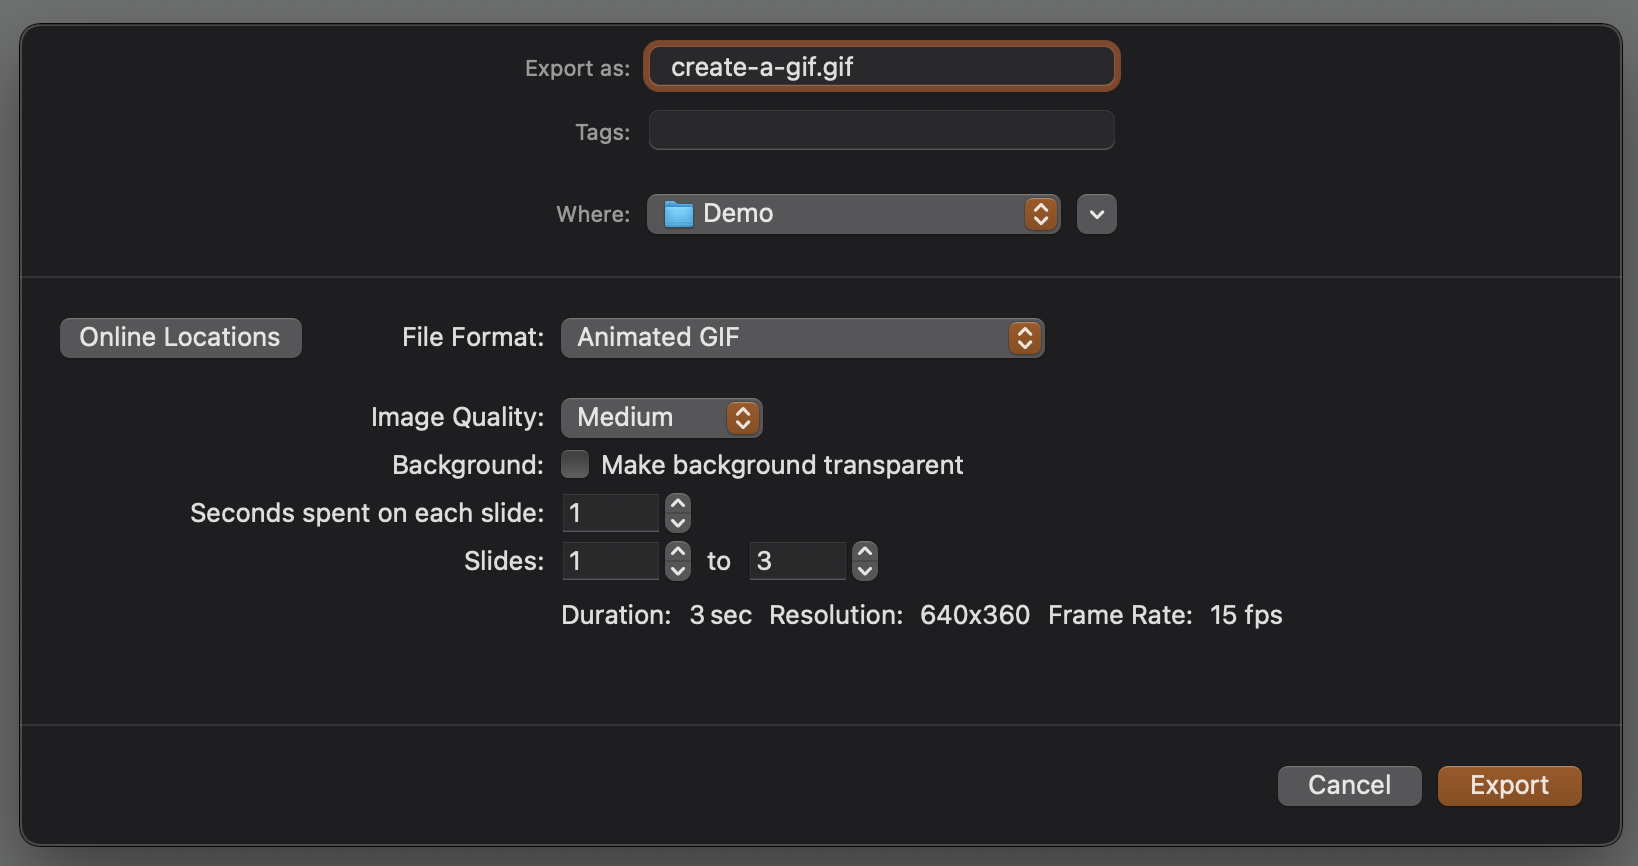
Setting image quality
This setting adjusts the quality of the gif. This setting affects two things - the resolution of the gif and the frames per second (fps). By increasing the image size, you increase the quality of the gif, but also the file size. What quality you choose will depend entirely on the content you’re producing. The output will vary depending on how complex your slides are - if you have a graphically rich slide you may find exporting to medium doesn’t preserve the right quality. But increasing the quality might result in huge file sizes. There is no winning formula here, this will take experimentation until you’re happy with the output.
Setting seconds spent on each slide
This needs a bit of maths to sort out the desired duration. It’s also a bit wonky in PowerPoint compared to how Keynote presents it. This is where the note from earlier about transition duration comes in!
In the image above you can see that we have set this setting to 1 second and the summary says that our gif duration is 3 seconds. This setting controls the time between transitions and the summary has totalled up this time but it hasn’t factored in the transition time. The actual duration of this gif will be nearer to 8 seconds when you factor in the transition duration (1.6 second transition duration, 1 second spent on slide). In order to increase the time of your animation you can either adjust the time between durations, or adjust the transition times. Supposing you wanted a 12 second animation, altering this setting to 2 and the transition duration of each slide to 2, you would end up with a 12 second animation.
The PowerPoint output
Here is the final output…

It works reasonably well, the end loop back to the first slide doesn’t neatly transition. Instead of continuing the transitions back to the first slide it simply exits and then starts the transition for the first slide. There may well be a way to fix this in PowerPoint, but I have not worked it out. Anyone?
Using Keynote
Keynote is Apple’s alternative to PowerPoint. Don’t have a Mac? If you have an iCloud account you can use Keynote from icloud.com . Keynote is able to open PPTX files, so if you save the pptx file from the earlier steps, you can open it in Keynote as a starting point.
Adding animations (transitions)
Keynote’s transitions are called animations. You can find them to the right of the screen. There are similar settings available here that provide a similar experience to that of PowerPoint. Also note you can alter the direction of the transition.
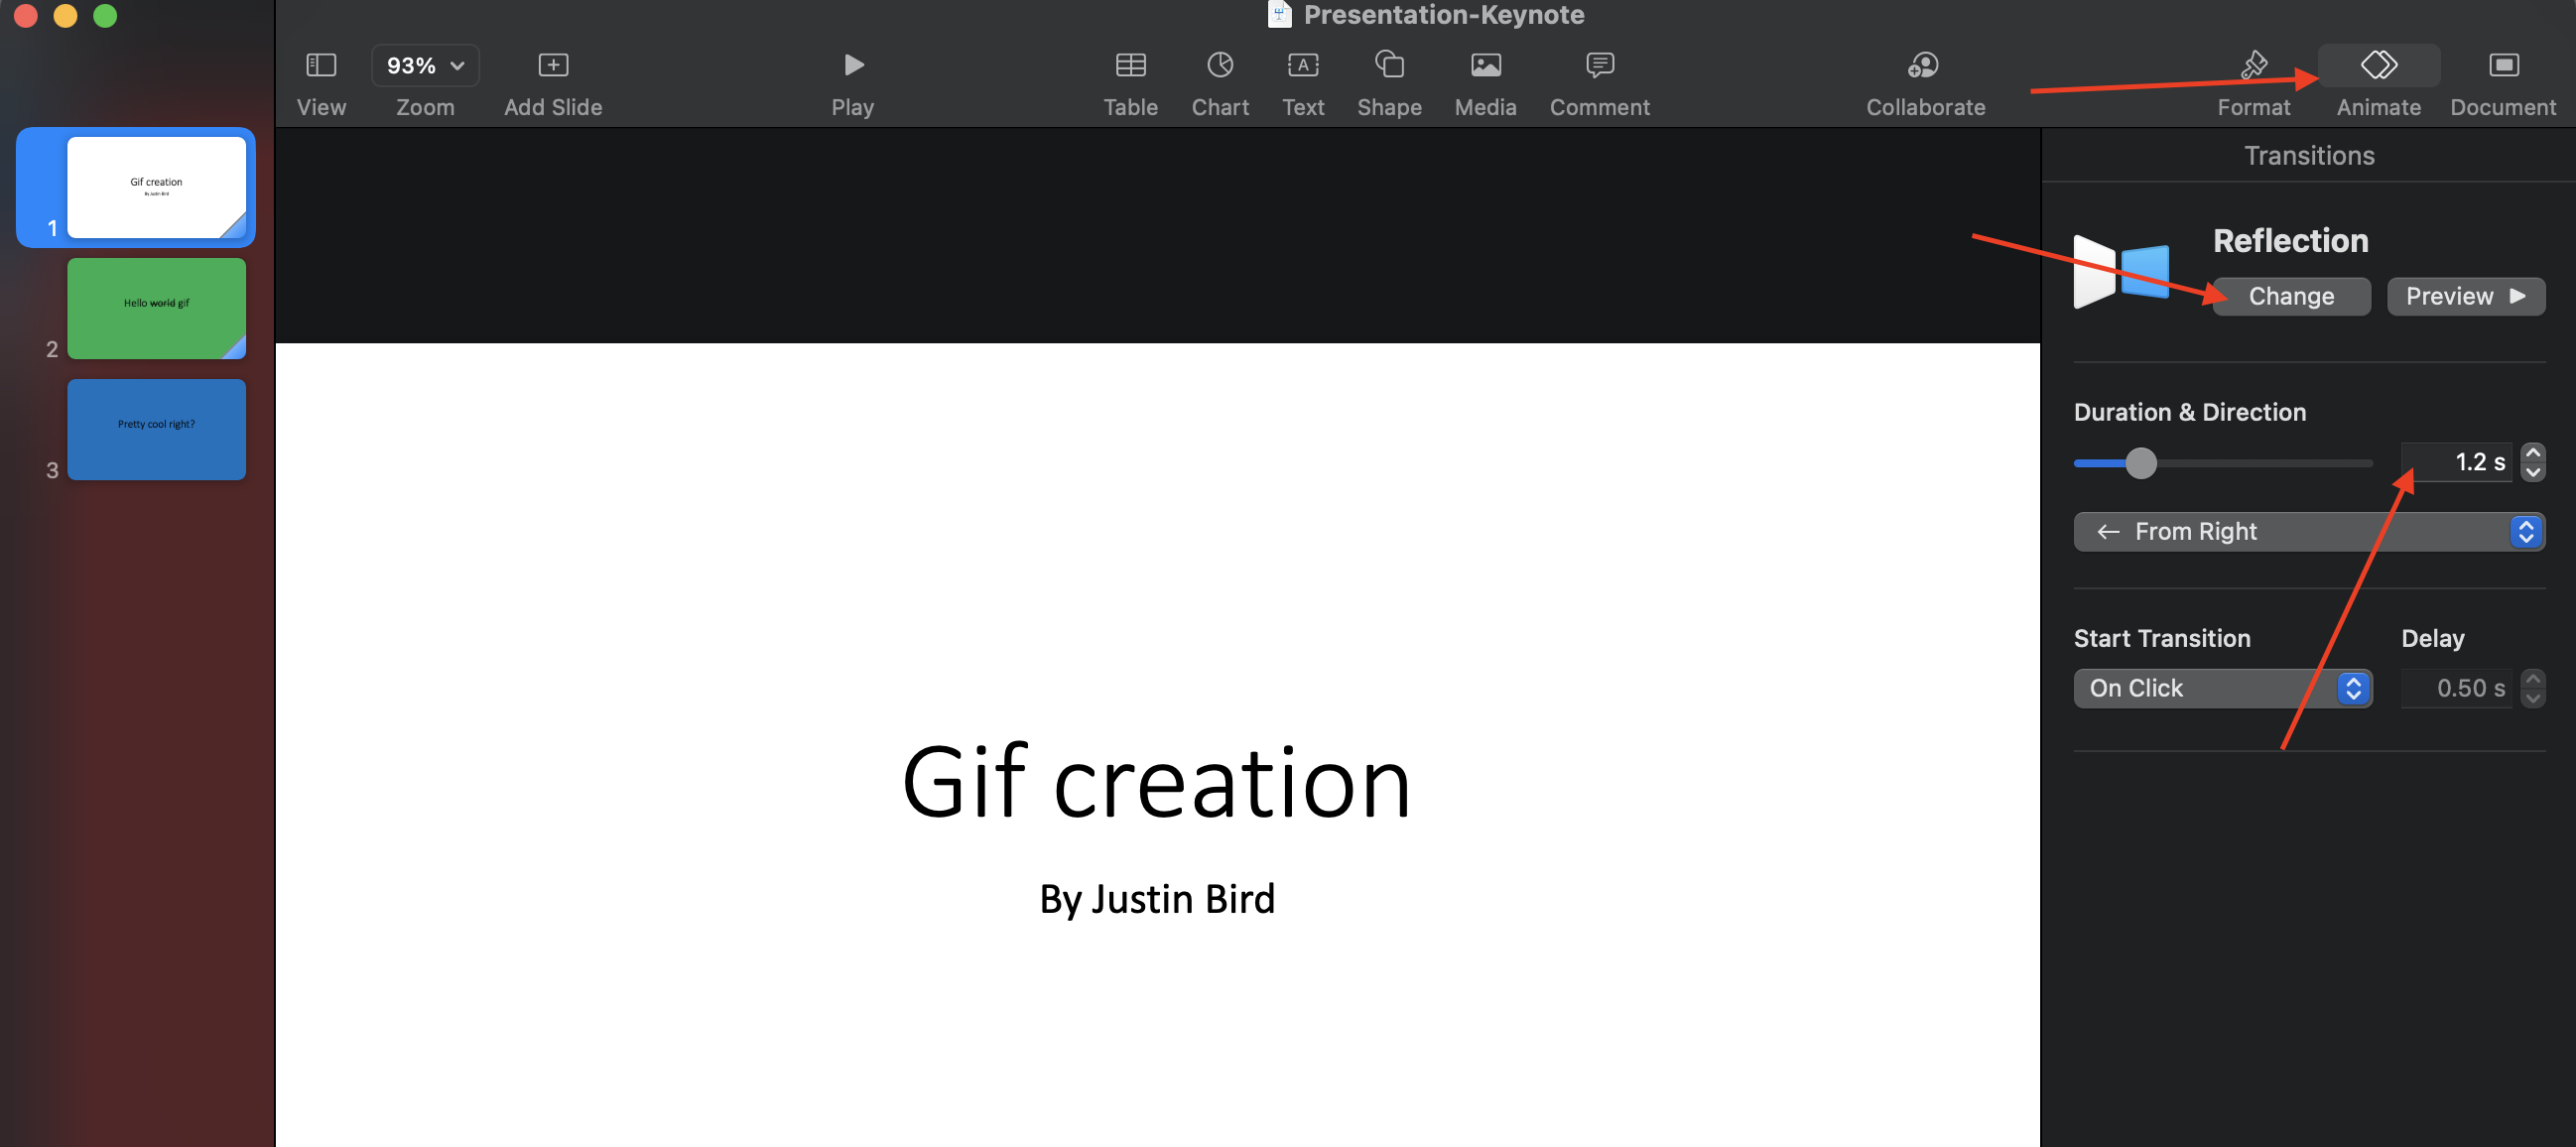
The current transition is called “Reflection” which is the Keynote equivalent of Gallery. There is a few animations available that in my opinion look much smoother than what PowerPoint can offer. You can select another animation by pressing change and can see a preview of the animation by hitting preview. The one I have been using for my user group gifs is called “Grid” and I set different directions for each slide as you can see in the tweet at the top of the post.
So to demonstrate some of these different animations, I am going to set the following;
- Slide 1 - Confetti
- Slide 2 - Switch
- Slide 3 - Revolving Door
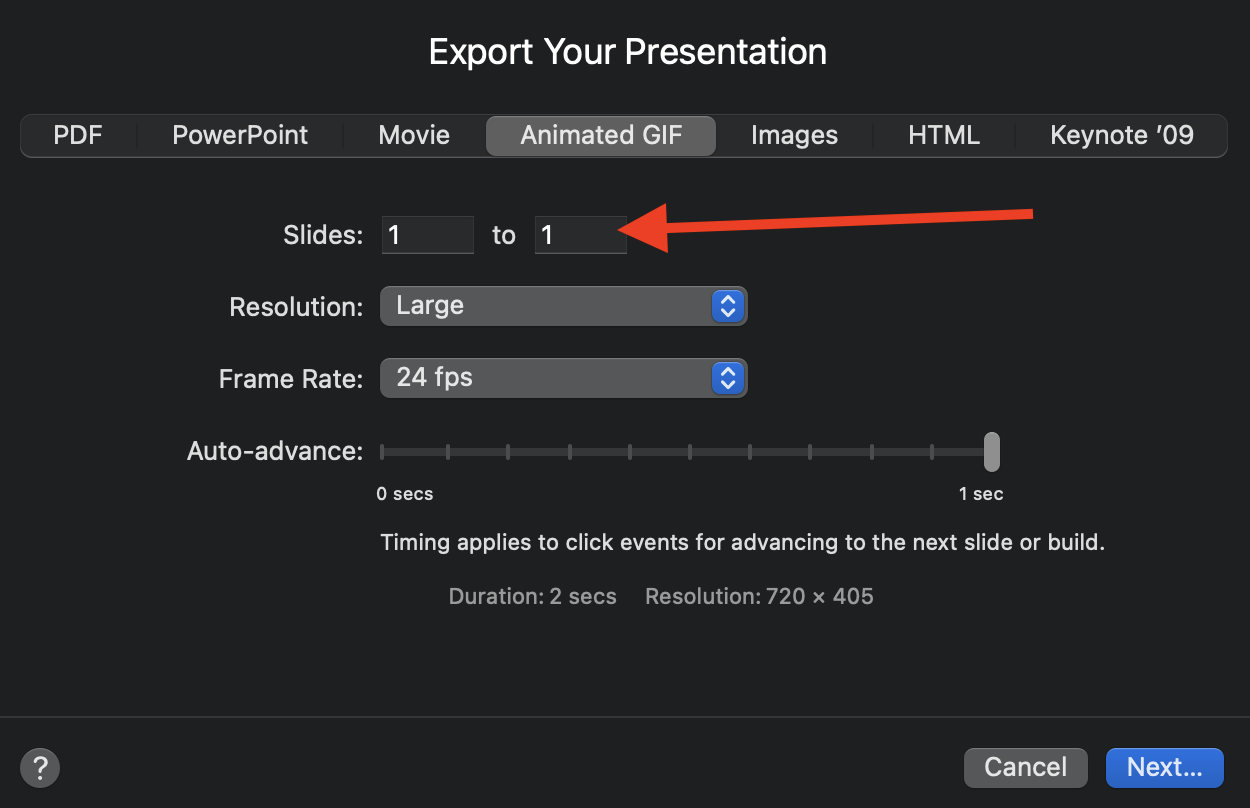
Export Animated Gif
Similar to PowerPoint here…file, export, animated gif. Note, by default Keynote only selects the first slide for export! So in the slides area, we will want to change the “to” value to 3 so all three slides are used.
Setting image quality & frames per second
You are provided a bit more control over your exported file in Keynote as you can control both image quality and resolution separately. Again, how you want to set this will be determined by how your presentation is set up. This will require some experimentation.
Setting auto-advance
Auto-advance is the Keynote equivalent of “setting seconds spent on each slide”, the maximum you can set for this is 1 second. What Keynote does differently to PowerPoint here is it actually tells you the entire duration of the gif so less maths required! This is only slightly less annoying however, because even this isn’t great since it shows in whole seconds only!
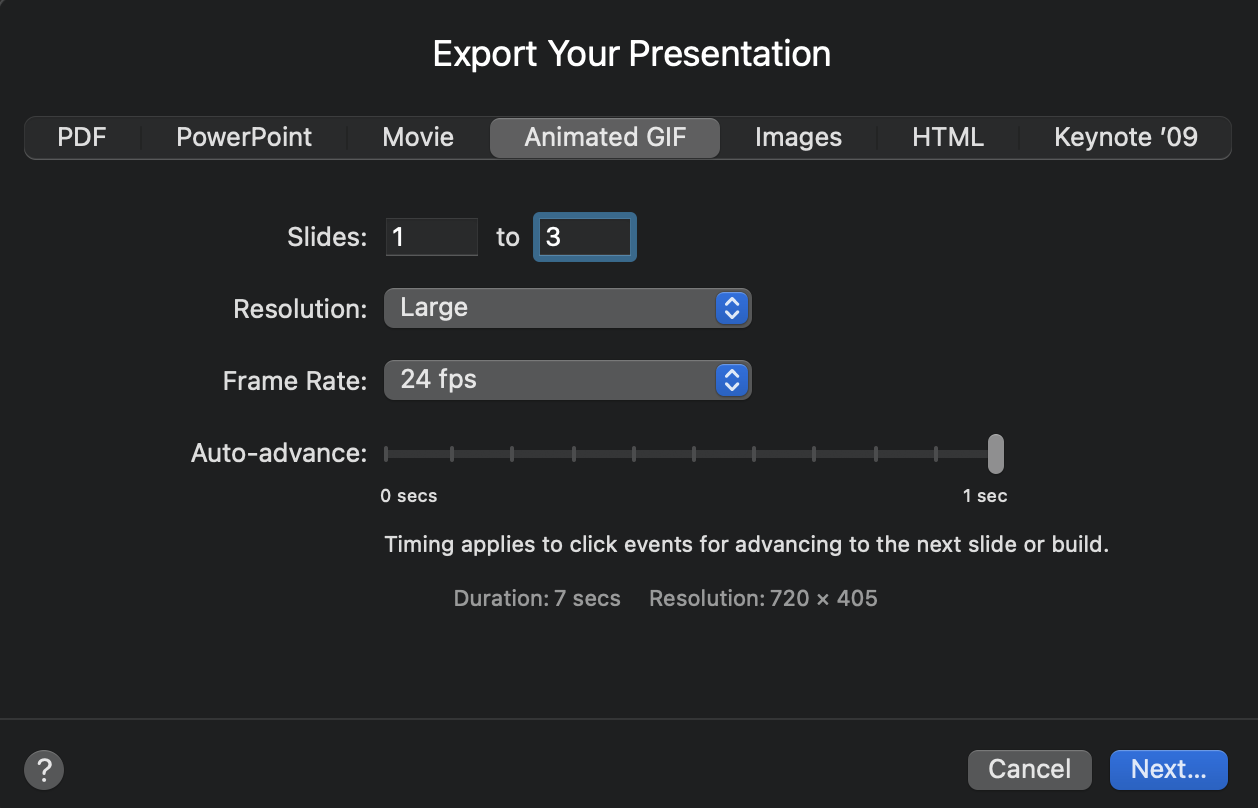
Because the maximum here is 1 second, you can increase the overall duration of the gif by increasing the duration of the animation on each slide. So currently the duration of this animation will be 7 seconds (1 second per slide, 1.2 seconds per animation). If we wanted to make it 9 seconds, we could increase each slide’s animation duration to 2 seconds (i.e. 1 second pause per slide plus 2 second animation per slide).
The Keynote output
Here is the Keynote output. The fundamental difference between the PowerPoint output and the Keynote output is that the final transition (the loop from slide 3 to slide 1) preserves the transition and as such loops more gracefully than the PowerPoint equivalent.
Posting to social media
This bit is pretty straightforward. When creating your tweet / post, you simply need to add the gif as you would normally add a picture to your post. The site will recognise the file to be a gif;
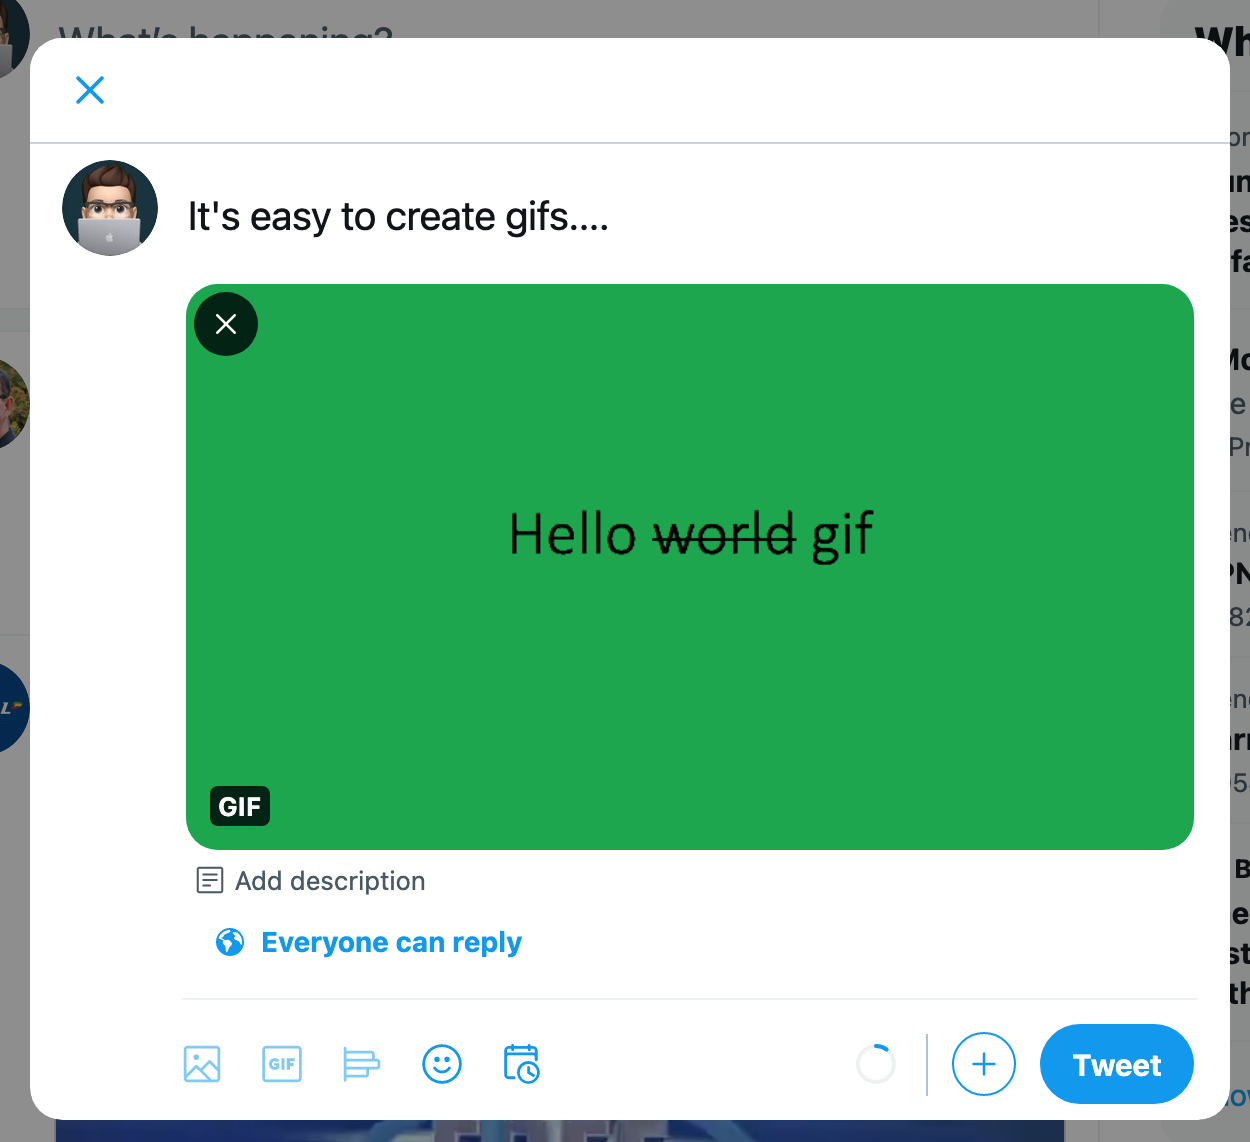
On accessibility
One thing that is worth noting here, is of the importance of considering accessibility. Be mindful that if someone wishes to make use of a screen reader, any content you place within the image should be reiterated elsewhere in your post otherwise it won’t be received by the person using the screen reader. Social media platforms like Twitter & LinkedIn do a really good job here giving you the ability to add alt-text which can be read by a screen reader. When you add an image on Twitter an “add description” button will appear;
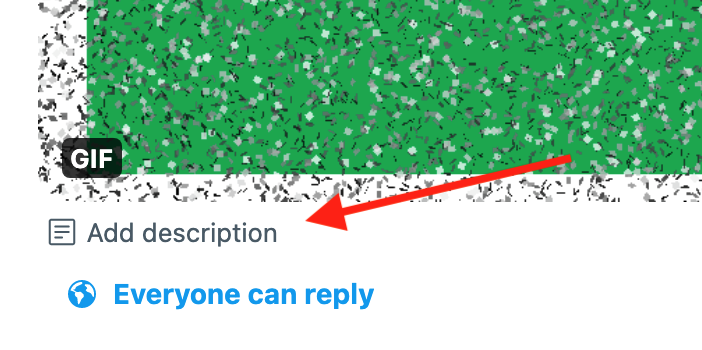
General good practice here is either ensure the same content is in the tweet itself or is included in the alt-text. There is some really great material to help you get started with accessibility on MS Learn .
Next steps
There some additional things you could try here, adding animations within each slide, altering directions on transitions, even perhaps making one transition much longer than others so that one slide is the prominent slide within the animation. But even if you just use the steps above should be enough to produce a tidy looking gif. Happy gif making!
Downloads
Here is the two files I produced for this post so you can see how it was configured.
Tags :

#mtfbwy