Using a network drive as a Time Machine backup drive
- mac
- 2020-11-15
- 2 minutes to read
This post is over 24 months old, that is an lifetime in tech! Please be mindful of that when reading this post as it could be outdated. I try to keep on top of changes where possible. I try to keep things up to date, but if you think something needs updating, please let me know in the comments.
Introduction
I have been using on old PC as Time Machine backup server quite successfully. I have got an old HP MicroServer picking up dust so I decided to give Unraid a trial. The process of setting up a Time Machine drive isn’t totally straightforward but there is a clear guide here . I have just been able to throw a load of old disks into the server, create a RAID and finally create a Time Machine share to provide a central backup server for the various Macs around the house.
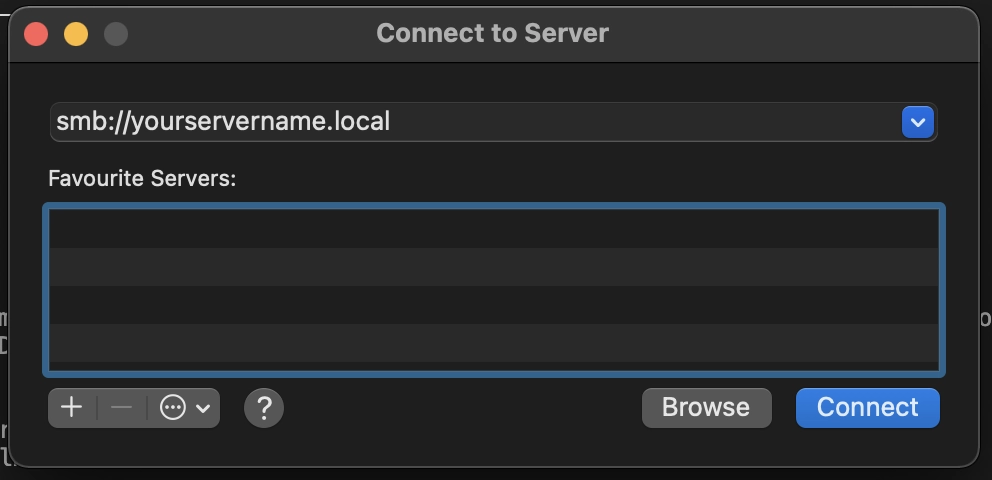
Connect to Server
You need to connect up to the share first and (if you’ve secured it) provide credentials for authenticating. To do this go Finder and select Connect to Server from the GO menu. Enter your server address as follows (replacing yourservername with the name you’ve set for the server in Unraid);
If you’ve secured the share in Unraid, you’ll be asked to set credentials. The share will then be available in Finder.
Show Unsupported Network Volumes
Setting up the drive as a valid Time Machine location needs one command run through Terminal. I don’t remember having to run this previously but a few OS updates have been installed since so perhaps things have moved on a little. The command simply allows for unsupported network volumes to be presented as valid destinations. To run this command, open finder and select Utilities from the GO menu. In there you will find the Terminal app, open up the app. From the command line run the following command;
defaults write com.apple.systempreferences TMShowUnsupportedNetworkVolumes 1
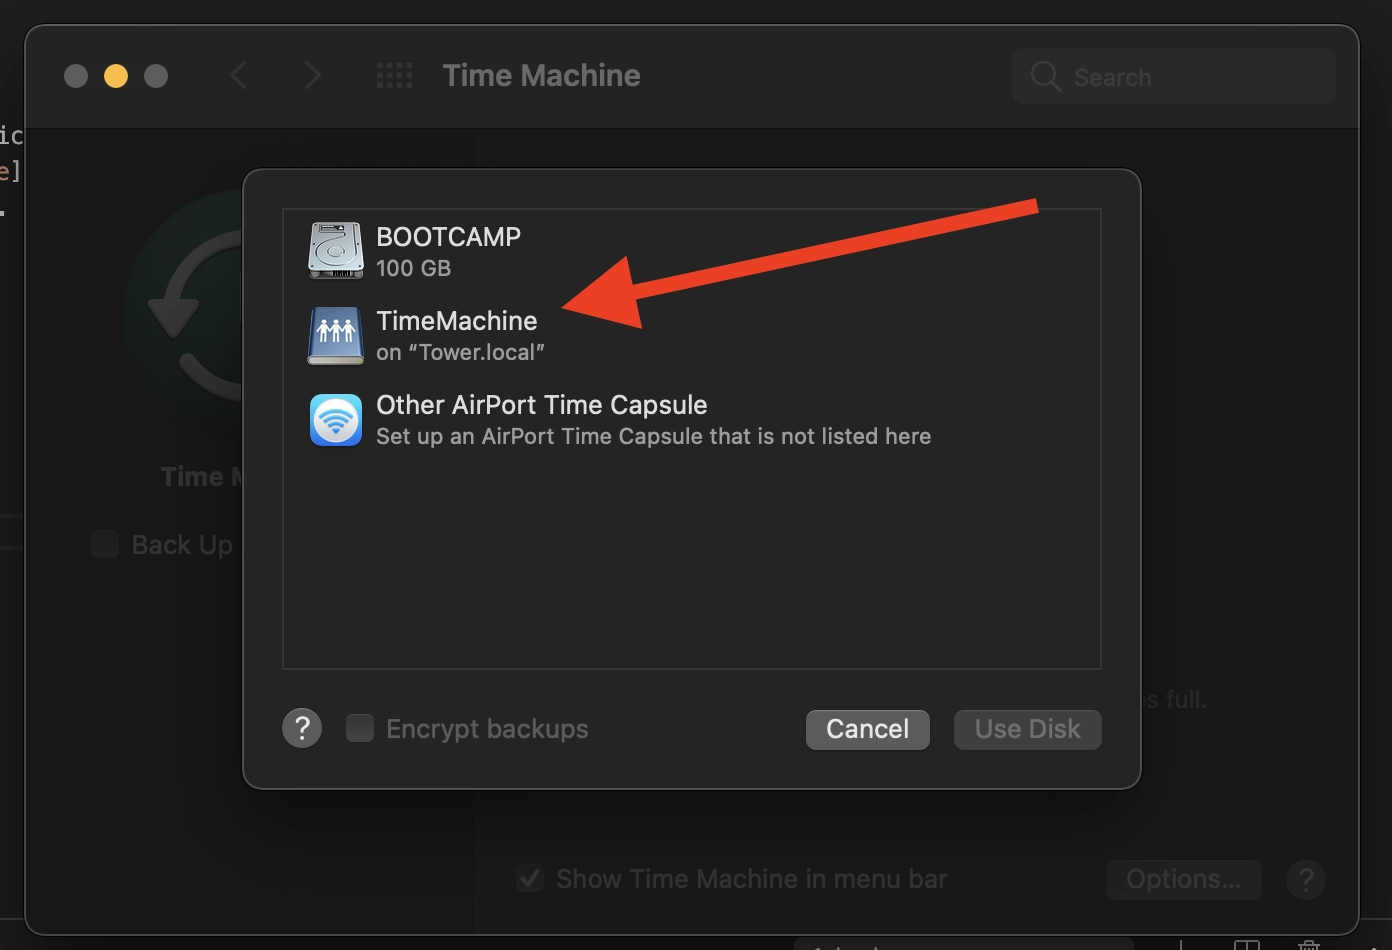
Select Backup Disk
Once you’ve done that you can close Terminal down and go to System Preferences and then onto Time Machine so you can configure the backup location. Check the “backup automatically” checkbox, then hit “Select Backup Disk”, you should then see your share available to select;
Tags :

#mtfbwy